ComfyUI | Fast Style Transfer
This video showcases the V2 of ComfyUI’s Style-Transfer feature, designed to create unique, experimental visuals using TensorFlow’s Neural Style Transfer technology. 🎨✨
Watch how you can transform your content into captivating, artistic images that will surprise and engage your audience. From custom nodes to a seamless workflow, this tutorial covers everything you need to create stunning visuals for your projects.
Hello and welcome.
Today I want to demonstrate a style transfer workflow using ComfyUI.
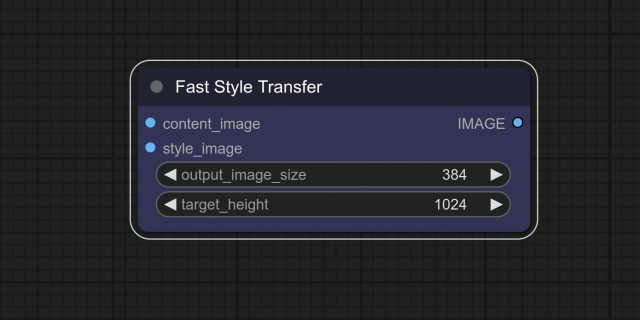
And I know that I’ve been working on a fast style transfer node.
First of all, you need to cancel your ComfyUI runtime.
And we need to copy and paste these commands into your terminal.
I will provide a link in the description.
This is just a workaround.
So you…
You see there are conflicts with protobuf versions conflicting.
Anyway, we’ll run Comfy again using python main.py.
And hopefully this will be resolved.
So we can refresh the window.
It seems that the fast style transfer node has been loaded.
Successfully.
You can find this node in my ComfyUI node toolbox.
And you need to download this as a zip or copy git clone into your ComfyUI directory,
which in my case is right here.
So there’s a bunch of…
There are a bunch of custom nodes here.
So I’m just going to…
There’s a bunch of custom nodes already.
But you need to paste this whole folder into the custom nodes directory.
There’s also the fast style transfer.
This is the original fast style transfer repo.
The code is actually based on the original one from TensorFlow tutorial.
From TensorFlow.
From TensorFlow.
From TensorFlow.
From the TensorFlow tutorial.
But I’ve modified it a bit and you can also download this onto your machine and run it
locally.
So git clone and set up the conda environment with just these two commands.
And then you should be able to run this on your machine.
So let’s go back into ComfyUI.
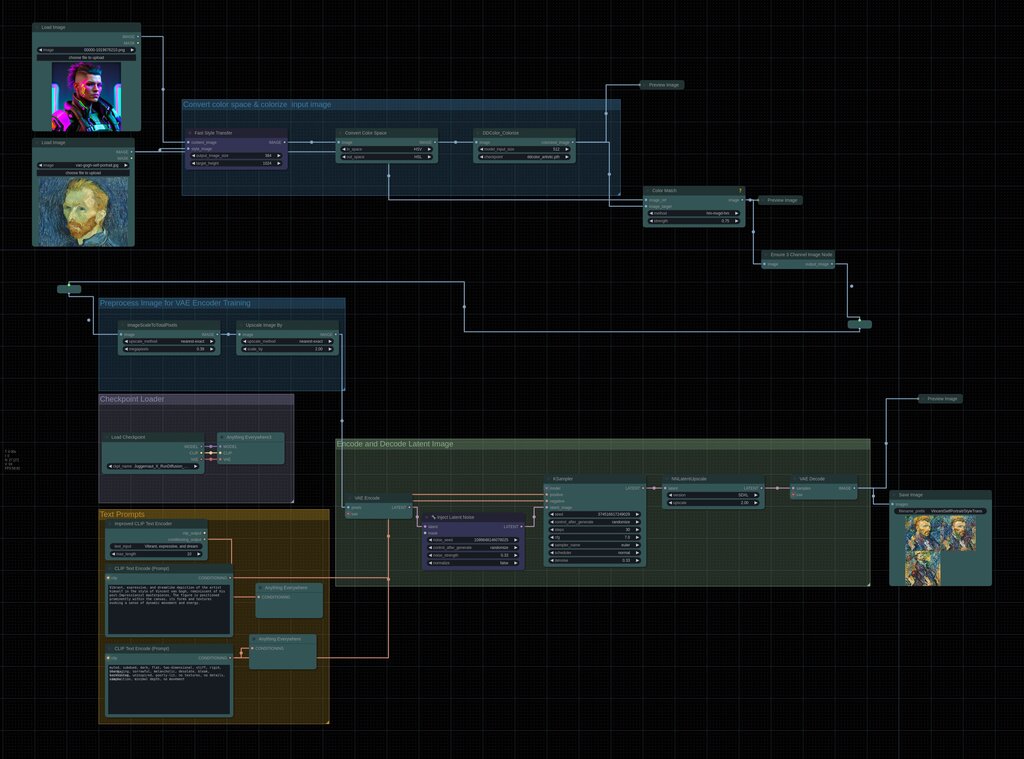
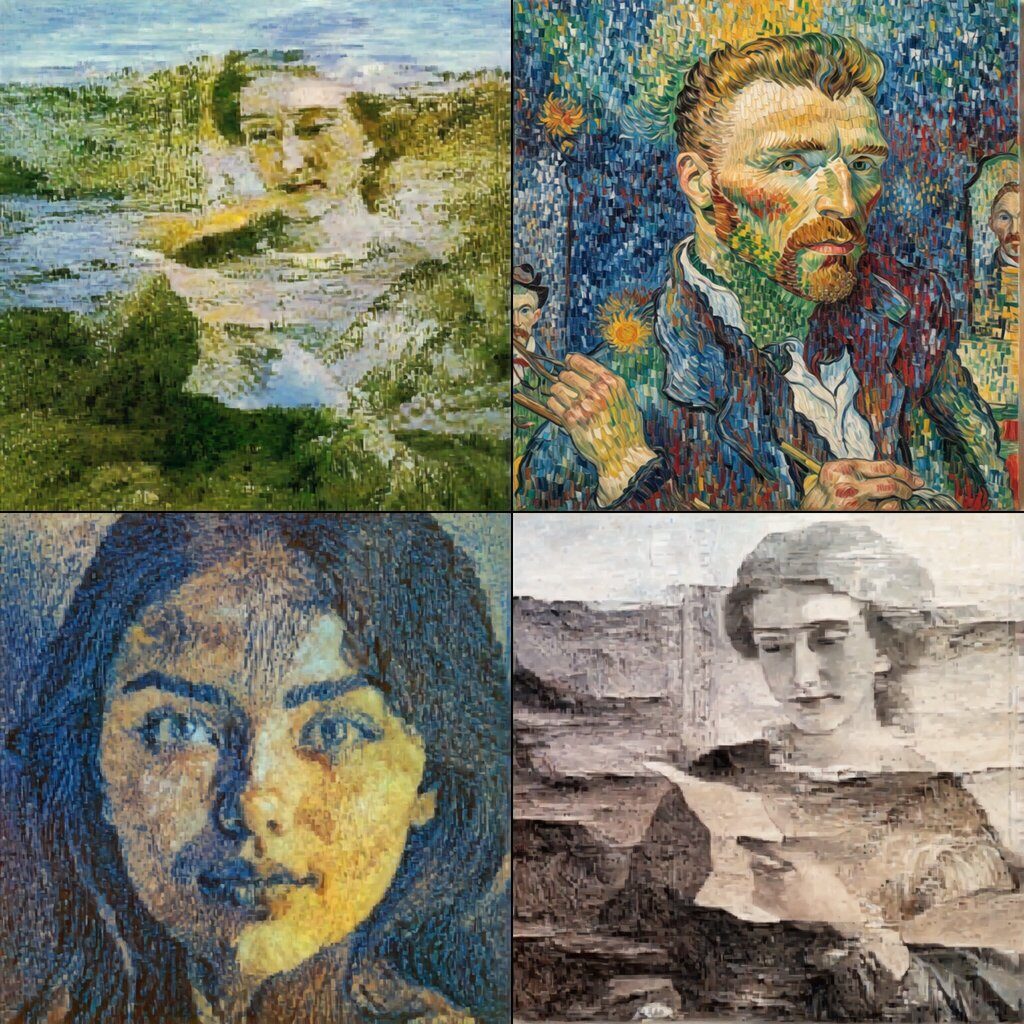
We have two images.
The one is the input image and the other one…
the style reference image, we can see that this is a bit of low quality, but let’s try
and run this actually.
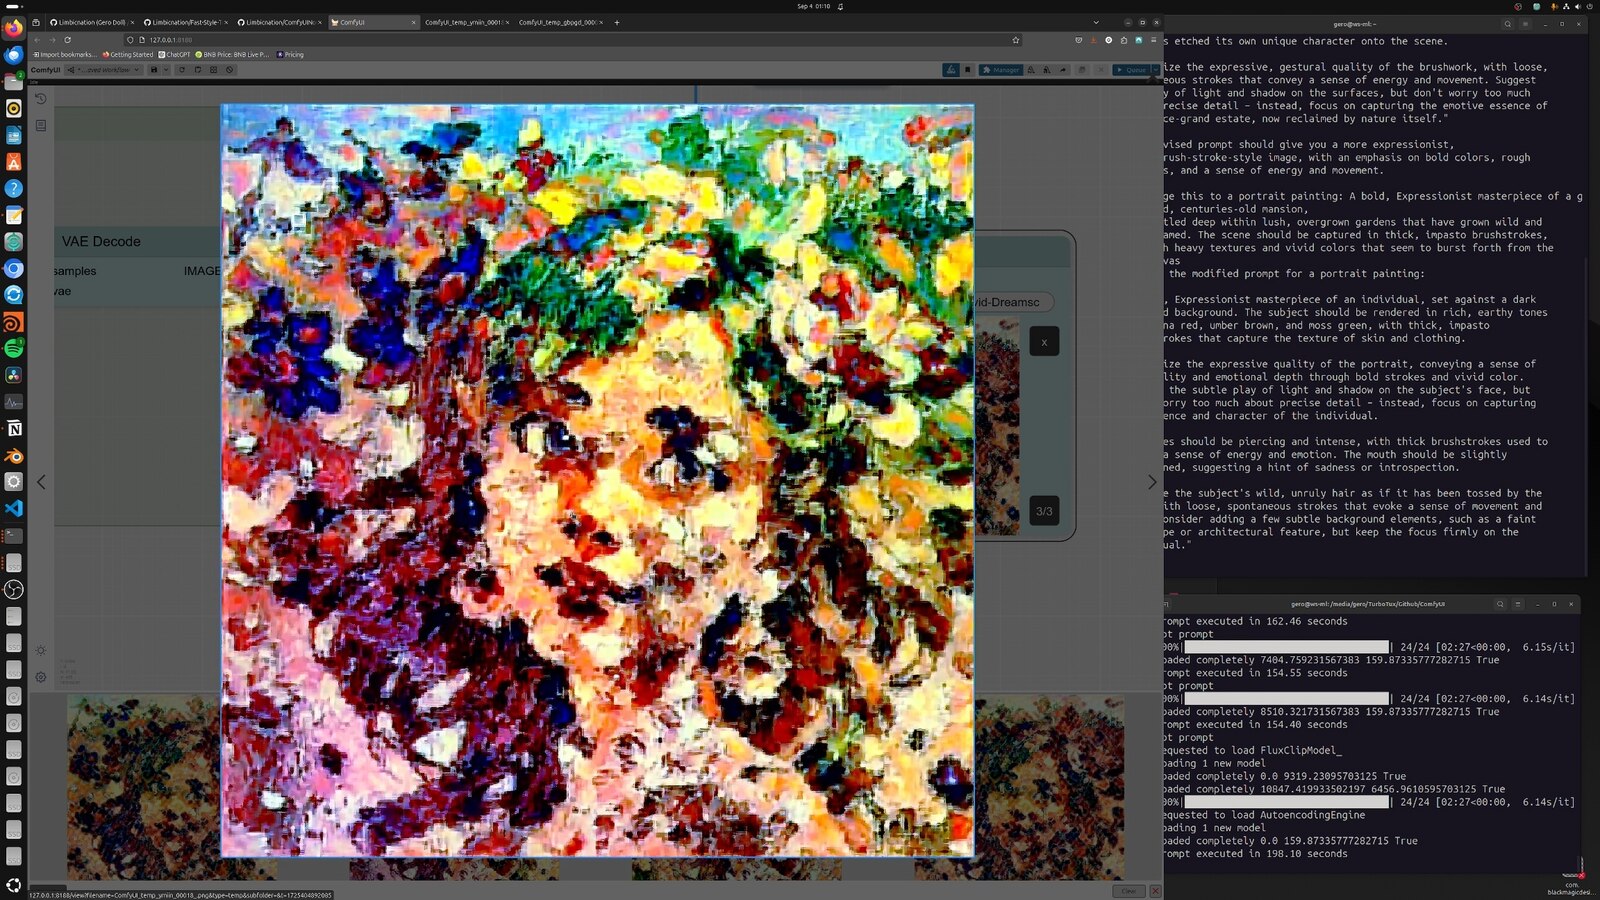
So I’m doing a bit of color conversion here, but the main backbone of the effect is the
fast style transfer.
And then we’re moving into the VAE encoder, and I’m also injecting latent noise into the
latent space provided with a conditioning clip text encoder, so I’m describing this
image above.
Basically the style image.
So you can use ChatGPT, or you can use your own words to describe what this is doing,
or what style this actually is.
Be careful with the noise style strength, you need to play around with that as well,
but usually injecting less noise will be much easier.
Okay.
Okay.
Okay.
So the style will be more coherent to the original image, and also the CFG classifier
free guidance will define how much weight is given to the text encoder in that sense
of how much effect the text description will affect the final output, or how strong the
the image will affect this input image.
I hope this is clear.
And then finally, I’m also upscaling the output, final output.
Now let’s just run this.
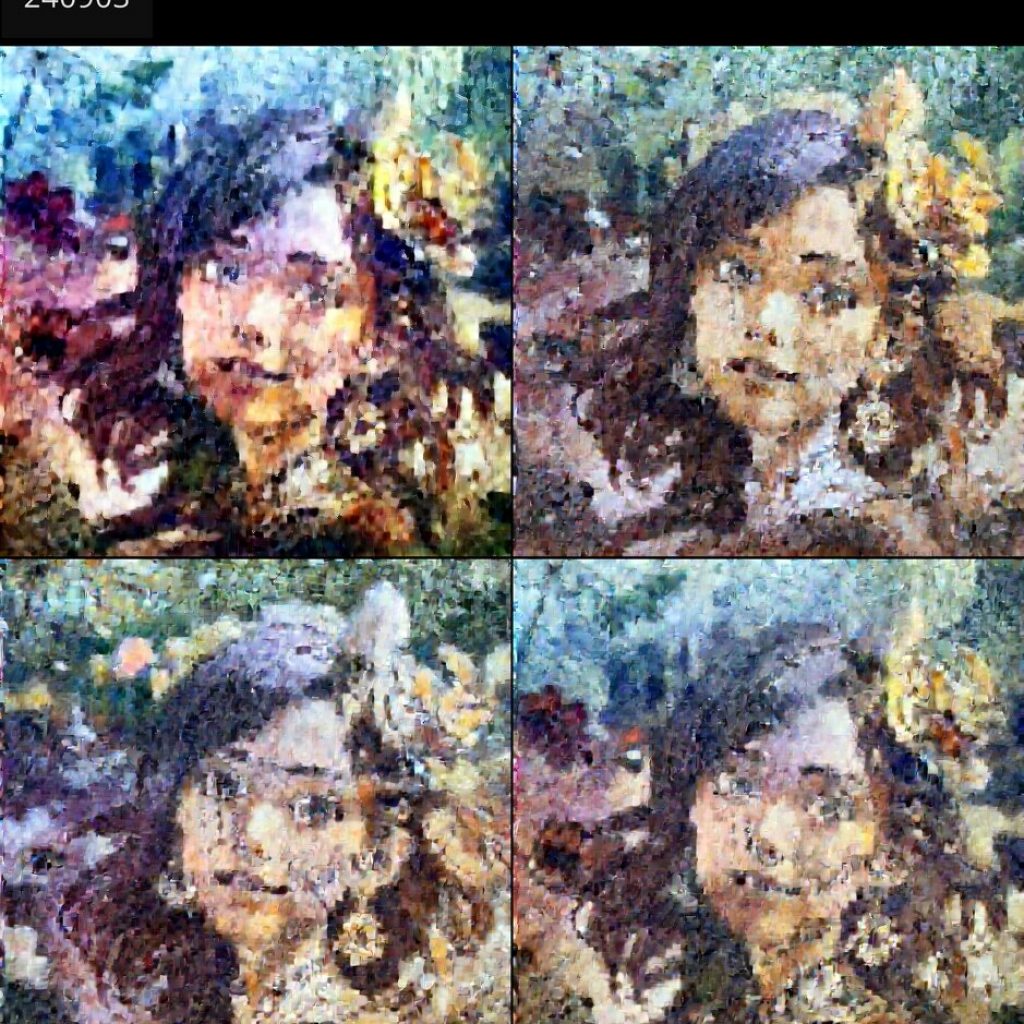
So we can see it’s generating the first images, they’re pretty small, I think, and this is
using a bit more VRAM now since it’s also encoding these images again into latent space.
I will fast forward time here until the generation is done.
Okay.
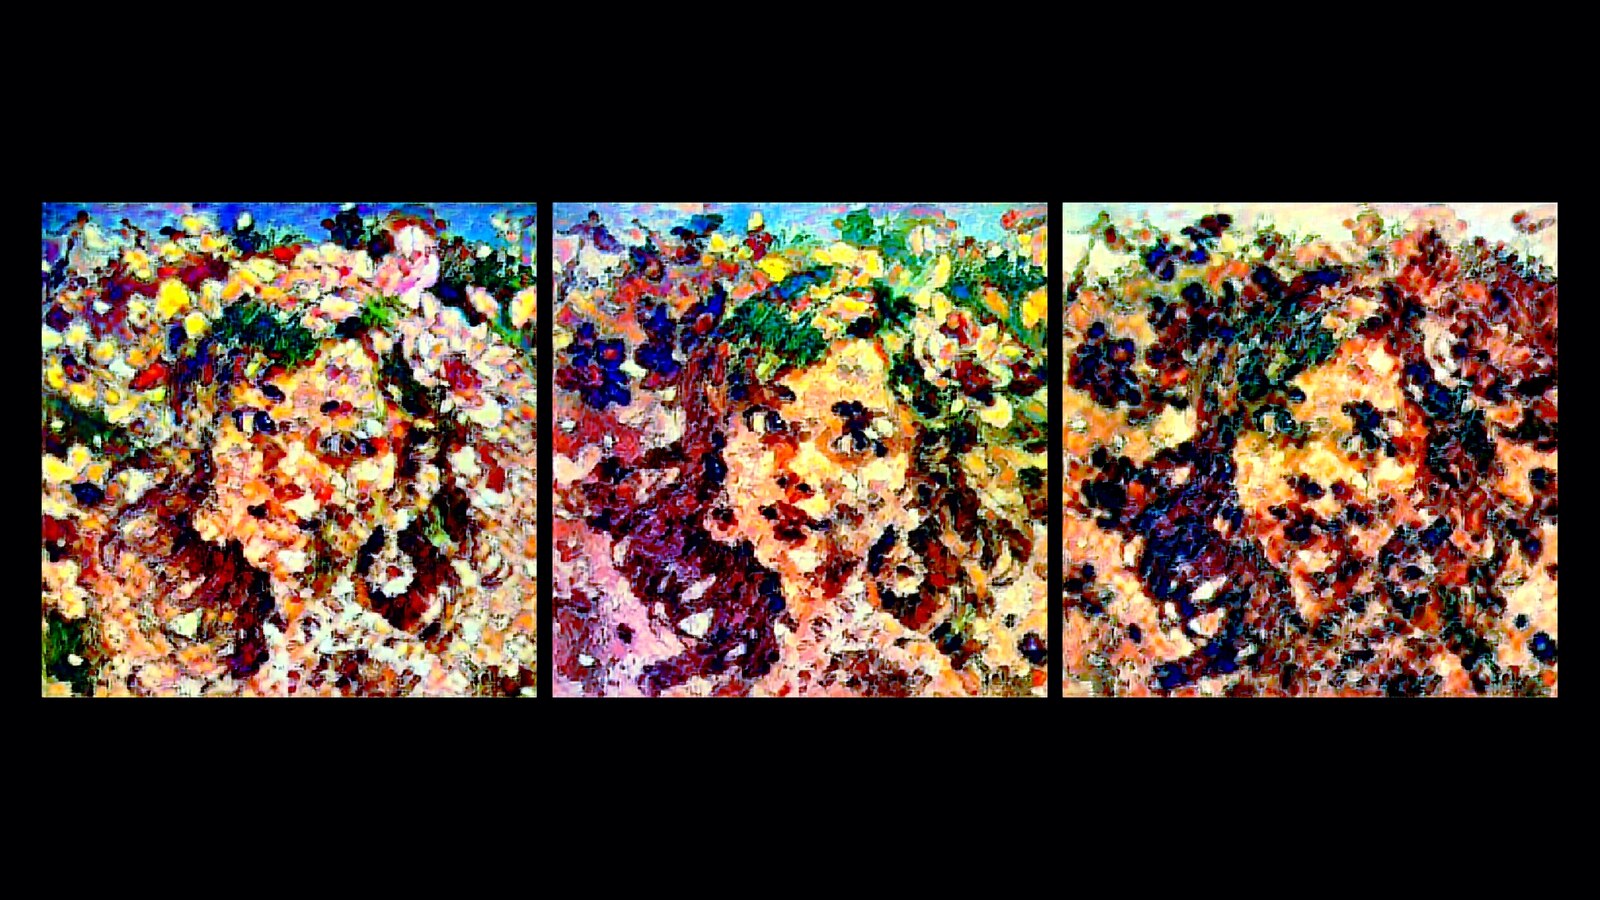
The images have completed.
We can see them down here.
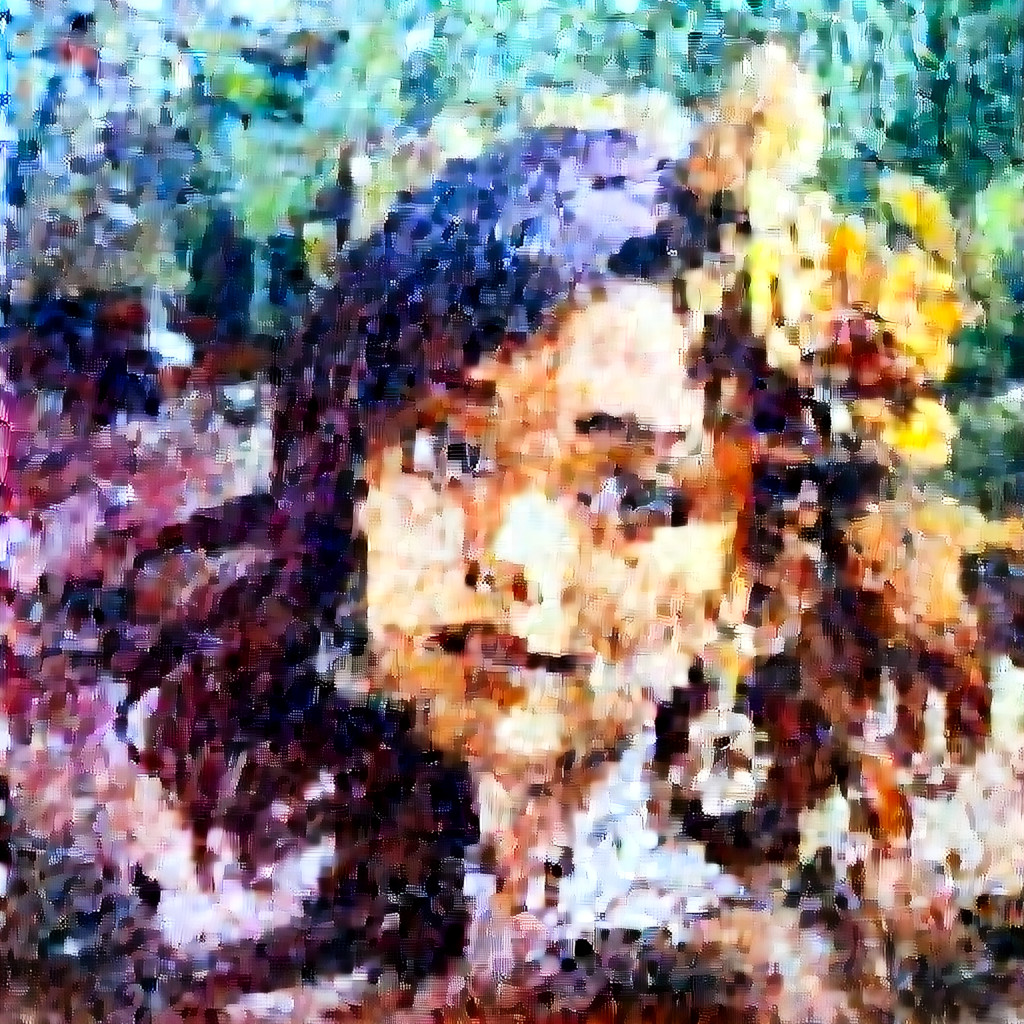
This is the effect.
This image has quite low resolution.
Let’s try with another image.
If we go into our folder again, I think this one is interesting.
By the way, in Comfy, you can shift-select nodes.
And then align them.
Change this prompt.
Let’s ask Ollama, Ollama, run Ollama 3.1, I think.
Modify prompt.
Modify.
Modify.
Modify.
Modify.
Modify.
Modify.
Modify.
Modify.
Modify.
Modify.
Run.
Disconnect.
Spread of shield.
Creator’s Irohaz.
Ah, actually we’re having a portrait here.
So what I’ll do is paste this.
So that’s that.
I don’t really know the overall picture.
But I’ll just say this.
What I’m going to do is connect to 거 aquilo.
Okay, so ChatGP is much better with description of stable diffusion prompts, but it’s running
locally and it’s free and it doesn’t send any data, you know, to OpenAI for them to
gather and so on, et cetera.
So let’s paste this in here, probably, okay.
So let’s run this again, queue up.
We’ll use a random seed, I think this is interesting.
I will modify time again and I will see you when this is done.
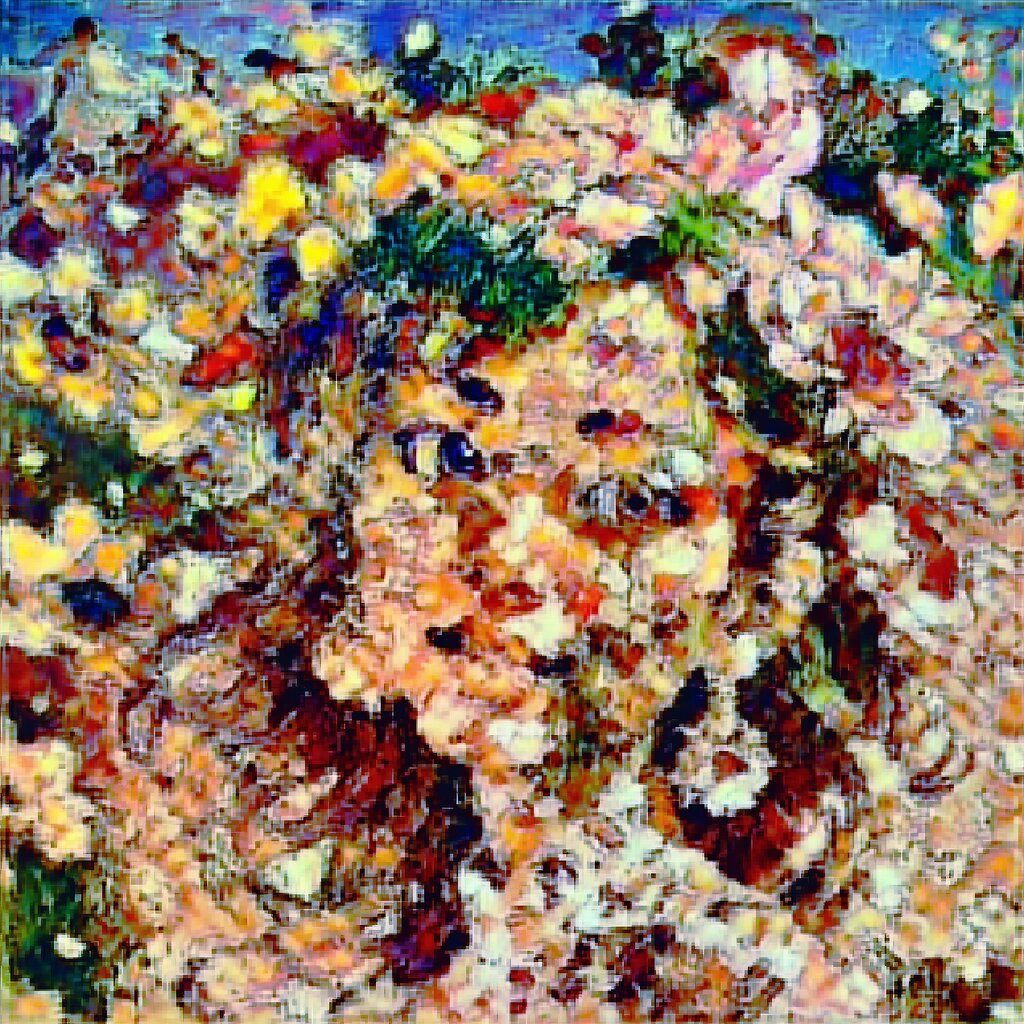
Okay, so the generations have finished, they’re interesting, but not quite what we want.
Think something is wrong here, let’s try a different sampler, we can try load this quantized
model.
This will require less vram.
Okay, I’m not particularly good in maths, but set this to 0.3.
We’re rounding this value, so 0.4, subtract, subtracting the two latents, and I will also
modify time again and I will see you when this has finished rendering.
Okay, so the generations are done and we’re having pretty much the same results as before.
How can I improve this?
Well, first of all, we can copy the complete prompt here.
And paste it into the clip conditioning, so just get some weight here.
So something is happening with the sampling, just want to see if we bypass this node.
Hold check.
Okay.
Okay.
I’ll generate again and fast forward the time when this is done.
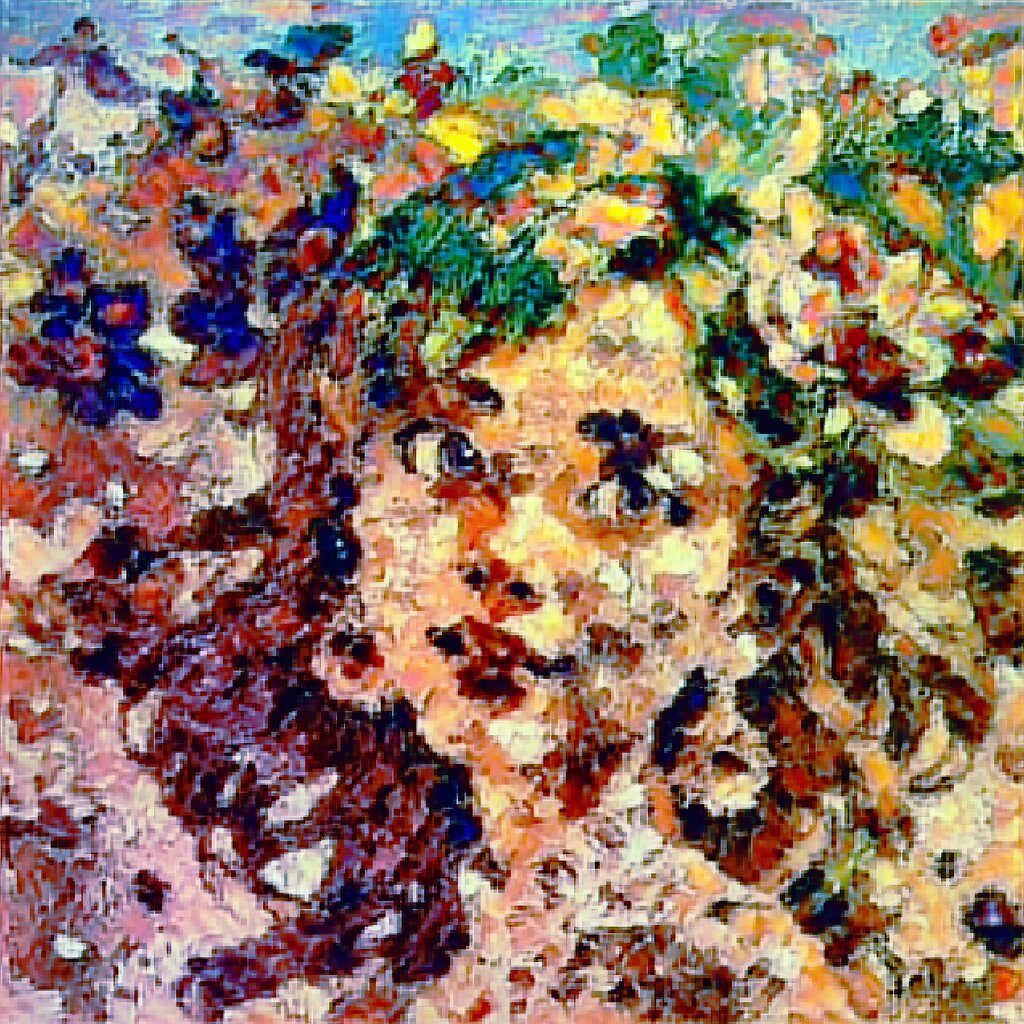
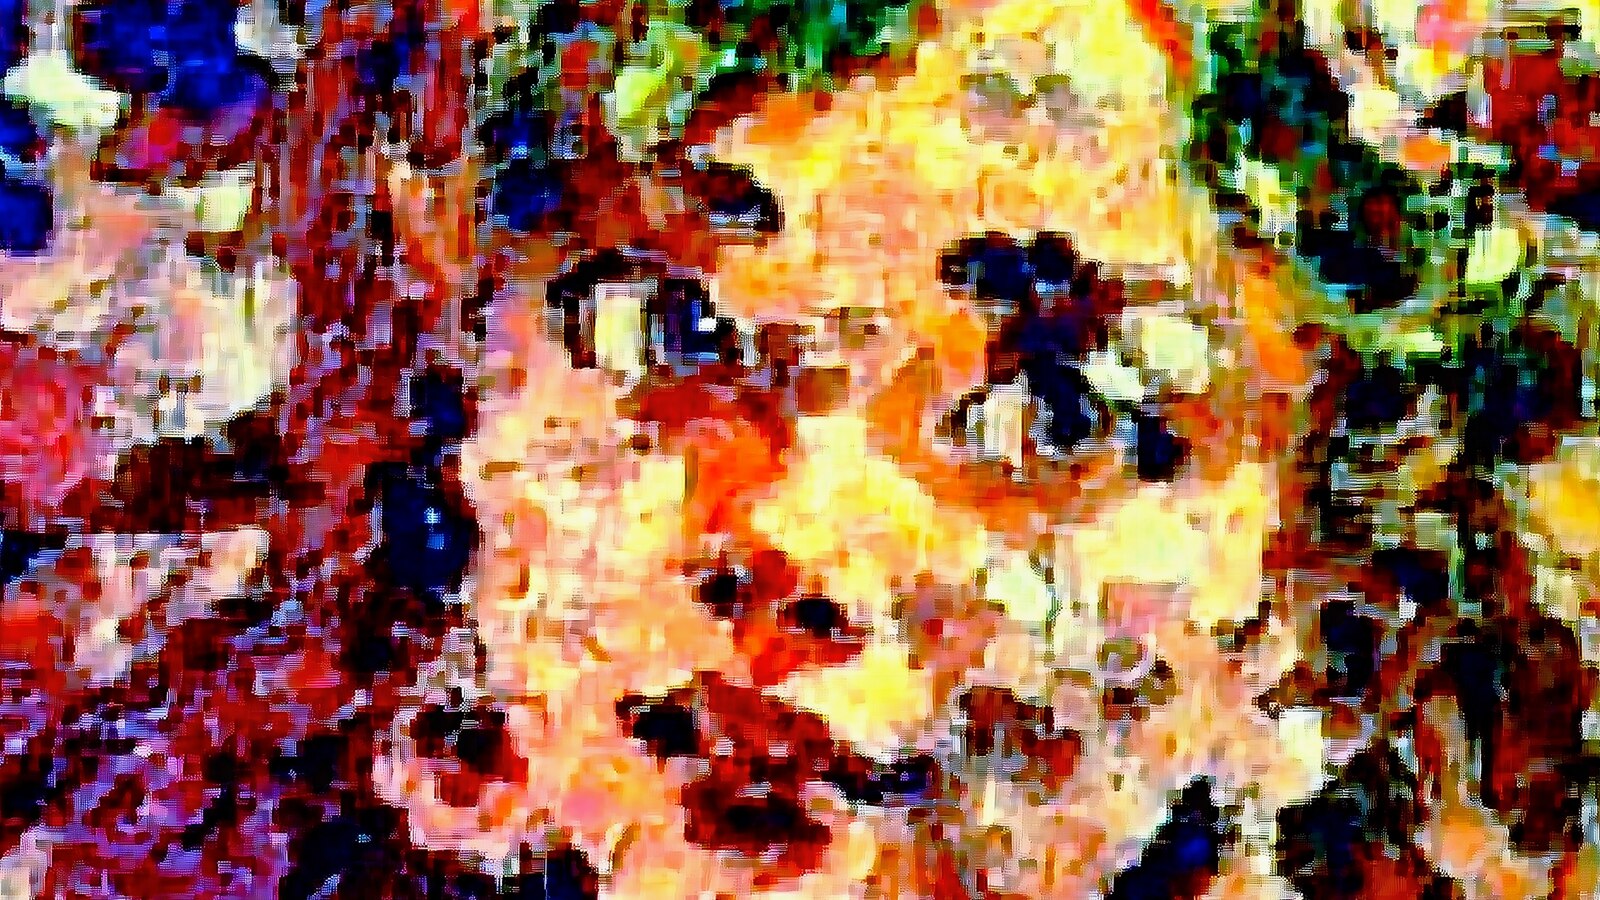
Not quite what we want, but I think it’s interesting.
So I think the latent noise is doing some funky stuff with the image, with the output
image.
So feel free to bypass all of these nodes.
And we’ll run the queue again.
And I will fast forward time yet another time.
Okay.
So this is bypassing.
Okay.
Okay.
Thank God.
Okay.
So we did it.
And then we change notes.
Okay.
It’s done.
So just 그걸就是說 the noise injection pod and upscaling the image.
So we still get artifacts in there.
Anyway, I hope you found this introduction demo, streaming video interesting.
I think I like this one.
Okay.
Bye.
I’ll save this to my downloads folder, and I hope you learned something or found it interesting.
Links will be in the description.
So I have the ComfyUI, try to find this workflow suite, which will host these workflows.
And I will also try to update the GitHub README with the appropriate workflow.
I will put this in here and also link that up in the YouTube description.
Please help support the channel.
If you like it, share it.
Thanks for watching.
Hope to see you in the next one.
Goodbye.
🚀 Push the boundaries of creativity with ComfyUI’s groundbreaking Style-Transfer Node, designed to generate unique, experimental visuals using TensorFlow’s Neural Style Transfer.
Transform your content into captivating, artistic images that surprise and engage your audience.
Download the custom node and workflow.
